How To Install Vinyl Plank Flooring? | A DIY Guide
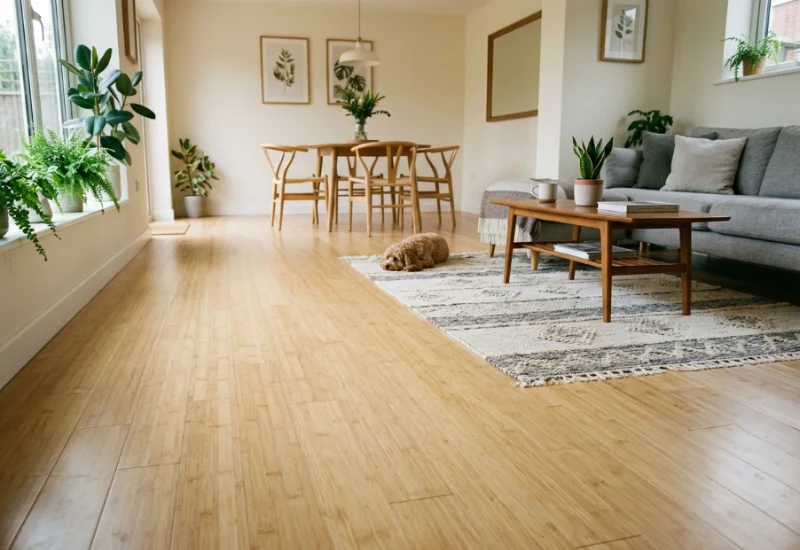
Upgrading a floor always enhances the overall decor theme because floors add a unique texture and style depending on their materials and colors. Vinyl flooring is getting hyped nowadays because of its remarkable benefits and textures that can complement any residential or commercial space.
The foremost perk of this flooring is its easy installation. You only need a set of essential tools and some basic skills to get your floor ready flawlessly. Let’s simplify its installation through this guide.
10 Easy Steps To Install Vinyl Plank Flooring
For DIY enthusiasts, Vinyl Flooring Company has enlisted all these materials and easy steps to follow. If you plan to install vinyl flooring on stairs, the living room, bedroom, kitchen, or bathroom floor, here you go.
What You Need for Installing Vinyl Plank Flooring?
| Vinyl Planks | Measuring Tape | Utility Knife | Flat Pry Bar |
| Sandar | Pliers | Straightedge | Hammer |
| Nail Set | Fine Tooth Saw | Rubber Maller | ¼ Inch Spacers |
Steps To Follow
- Design The Flooring Layout
- Remove The Trim Moldings
- Subfloor Preparation
- Test-Fit First Planks Row
- Planks Cutting To Size
- Connect Interlocking Planks
- Cut Planks For Protrusions
- Planks Fitting Around Bumps
- Cut & Lay The Final Row
- Reinstall Trim Moldings
1: Design The Layout
Before laying the planks, you must design the flooring layout to ensure structural beauty and stability. Always start from the most visible or front wall of your room and move towards the rest of the walls. Craft a flooring layout illustration on paper to get a precise idea. This step ensures accuracy in laying planks in either irregular or square rooms.
Pro Tip: Always choose a type of vinyl floor that ensures high durability, resilience, and moisture resistance.

2: Remove The Trim Moldings
Some basic elements, including base shoe moldings, baseboards, or case moldings, must be removed from the wall surface. They are in direct contact with the floor surface, which creates hindrance in laying the planks or tiles. Use a pry bar or under-cut saw to remove these molding walls carefully.

3: Subfloor Preparation
Subfloor preparation is one of the most vital steps that ensures perfect floor attachment and high durability. Consider the type of subfloor, whether it is concrete or plywood. For concrete floors, you can fill cracks, gaps, or bumps with a concrete patcher. However, depressions on plywood surfaces can be filled with high-quality compounds.

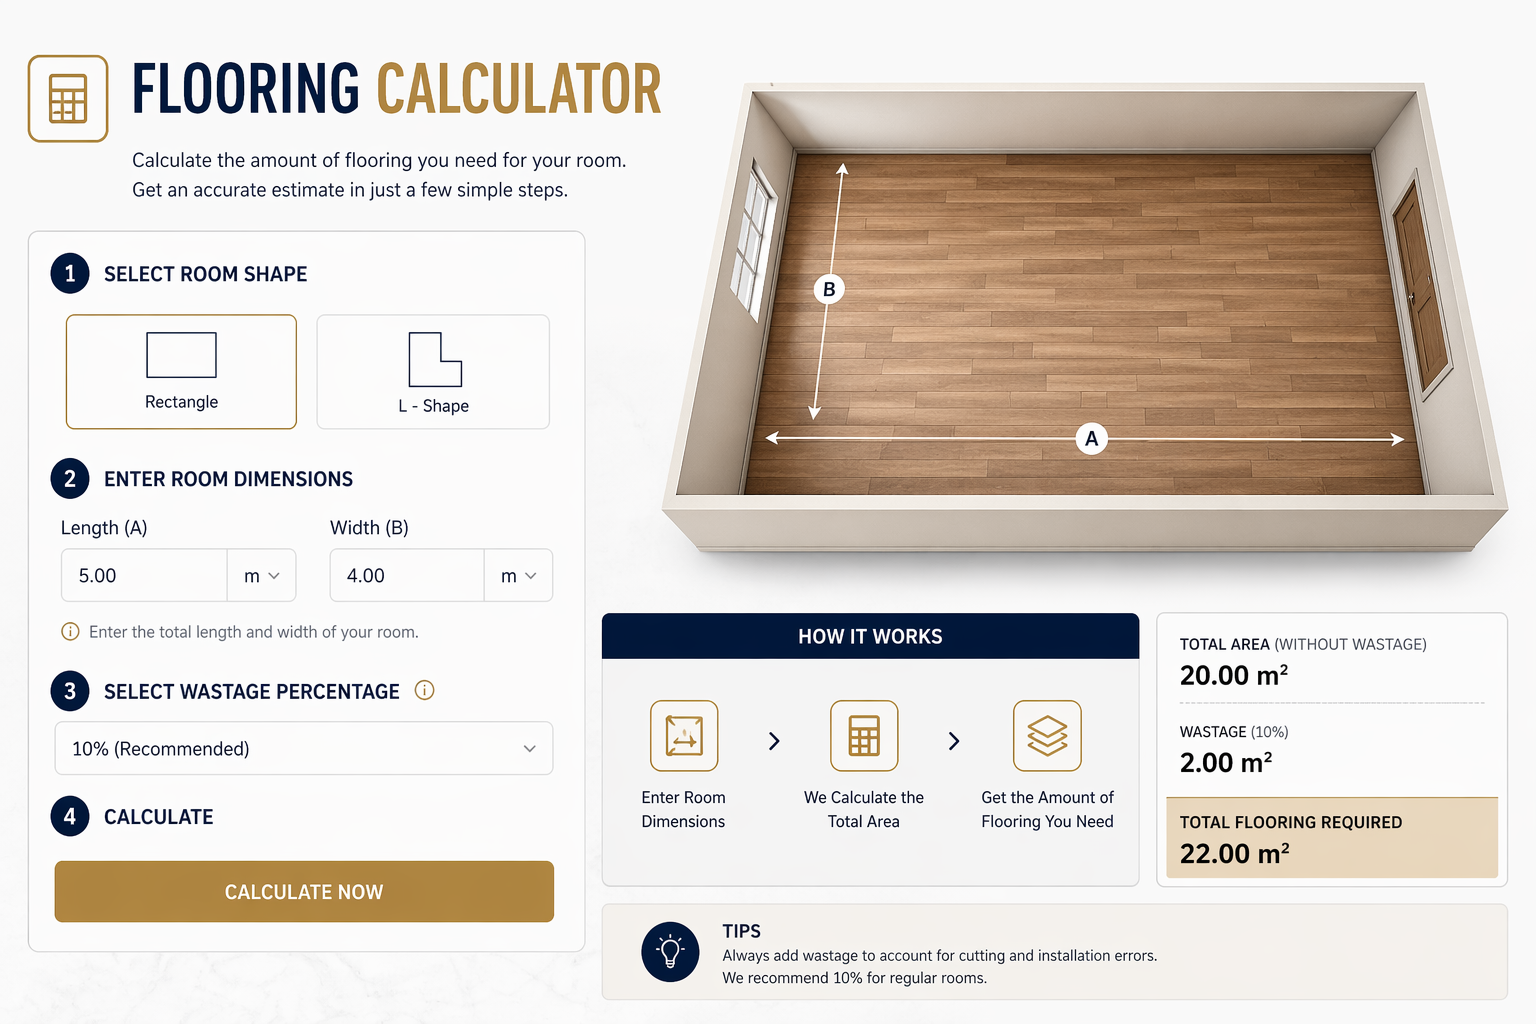
4: Test-Fit First Planks Row
To test-fit the first plank row, you should measure the exact length of the front wall. Start laying the planks on the base, keeping the center of the wall as a marked line, Leave equal gaps on either side for a decent outlook. Moreover, leave at least ¼ inches of expansion gap between the row end and wall surface by incorporating spacers.

5: Planks Cutting To Size
Use a sharp utility knife and square to cut the planks per size requirements. You can wrap the knife over the plank front surface several times. Flip and fold the plank carefully, it will snap off by itself. For a firm floor surface, you need to apply some force rather than fold. You can also use a fine-tooth saw to cut the vinyl flooring if available.

6: Connect Interlocking Planks
Interlocking or tongue and groove systems for vinyl floors ensure end-to-end or edge-to-edge attachment. You need to attach the tongue of one plank to the groove of the adjacent plank at a specific angle. However, if you have glue-down planks, prepare a high-quality adhesive material to fix the flooring precisely.

Read Also: How to Install Vinyl Sheet Flooring?
7: Cut Planks For Protrusions
In rooms with irregular dimensions, you may face multiple protrusions, such as door or window ducts. For a fine floor look, you should cut the planks per dust size. Use a sharp knife or scissors to make a precise cut on the plank surface. While cutting, cover your hands with rubber gloves to avoid injuries.

8: Planks Fitting Around Bumps
If you cut the flooring pieces precisely per the required size, this step will be easy. Start laying the planks around these corners or door ducts. Luxury vinyl planks have high resilience to bend and adjust themselves per the required position. However, before giving a final touch, you should analyze the proper position and size.

9: Cut & Lay The Final Row
Cutting and laying the planks in the final row is a technical step for beginners. Usually, the last row has different measurements than the previous rows. Measure its exact length and width for smoothly laying the planks. Lay all the cut-down planks with the same tongue and groove or end-to-end fixing technique.

10: Reinstall Trim Moldings
In the end, reinstall all the trim moldings (skirting, base moldings, or shoe moldings) with a heavy-duty pneumatic brad nailer. In addition, you can also attach them manually with a hammer and nails. Make sure, you have attached these moldings at some height from the floor surface to prevent damage in case of plank extension.
Note: Remove created mess, dark spots, and dust from floor surfaces by proper cleaning and vacuuming.

Wrapping Up!
DIY installation of vinyl planks requires proper guidance and basic skills in flooring layout, cutting, and fixing. We have tried our best to give practical and effective insights about the complete installation process. In addition, we have also provided a complete list of essential materials and tools to make your DIY journey smooth and easy. If you plan to install luxury vinyl flooring? must consider the steps above to ensure complete perfection and accuracy.
Related Post